Tutorial
This tutorial takes approximately twenty minutes to complete. You need three things to follow the tutorial:
- a working Nanoc installation
- See the Installation page for details on how to install Ruby, RubyGems, and Nanoc.
- a basic understanding of Ruby
- Nanoc uses the Ruby programming language extensively. You can get by with only basic Ruby knowledge, but for beginners, we recommend Ruby in Twenty Minutes.
- a basic understanding of the command line
- Nanoc is executed on the command line. If you need to brush up on your command-line skills, we recommend The Command Line Crash Course.
Create a site
Create a new site by typing create-site, followed by the name of the new directory in which you want Nanoc to create the site:
% nanoc create-site tutorialNanoc lists all files being generated as result of this command:
      create  nanoc.yaml
      create  Rules
      create  content/index.html
      create  content/stylesheet.css
      create  layouts/default.html
Created a blank Nanoc site at 'tutorial'. Enjoy!
A Nanoc-powered site is a directory with a specific structure. The newly generated tutorial/ directory has a handful of files and directories:
- nanoc.yaml
- The YAML file that contains site-wide configuration details.
- Rules
- The Ruby file that describes how pages and assets will be processed.
- content/
- The directory in which pages and assets go.
- layouts/
- The directory that contains layouts, which define the look-and-feel of the site.
- lib/
- The directory that contains custom Ruby code.
We’ll revisit these later on in the tutorial.
Compile the site
All Nanoc commands, except for create-site, require the current working directory to be a Nanoc site. cd into the tutorial directory, if you haven’t yet done so:
% cd tutorial
tutorial%
Every new Nanoc site comes with one page, content/index.html. The content of this page is an HTML snippet rather than a complete HTML file. To generate the full HTML file, compile the site by running nanoc:
tutorial% nanocNanoc will tell what is happening during the compilation process:
Loading site data…
Compiling site…
      create  [0.01s] output/index.html
      create  [0.00s] output/stylesheet.css

Site compiled in 0.01s.
Nanoc created a file named index.html in the output/ directory. This is a complete HTML file, as opposed to the snippet in the content/ directory.
Because Nanoc generates absolute paths by default, opening the file directly in a web browser will not produce the desired result: links will be broken and the browser won’t be able to find the stylesheet.
The recommended way of previewing a site is using the nanoc view command, which starts a local web server that mimics a real-world web server. Before you can use this command, install the adsf gem (not asdf!) first:
tutorial% gem install adsfNow you can start a web server by running nanoc view:
tutorial% nanoc viewOn Ruby 3.0 and later, you might get the following error:
LoadError: Couldn't find handler for: puma, thin, falcon, webrick.To fix this, install the webrick gem to your Gemfile:
tutorial% gem install webrickOpen a web browser and navigate to http://localhost:3000/. You’ll see something like this:
Edit the home page
Pages and assets, commonly referred to as items, are stored in the content/ directory. Open the content/index.html file:
---
title: Home
---
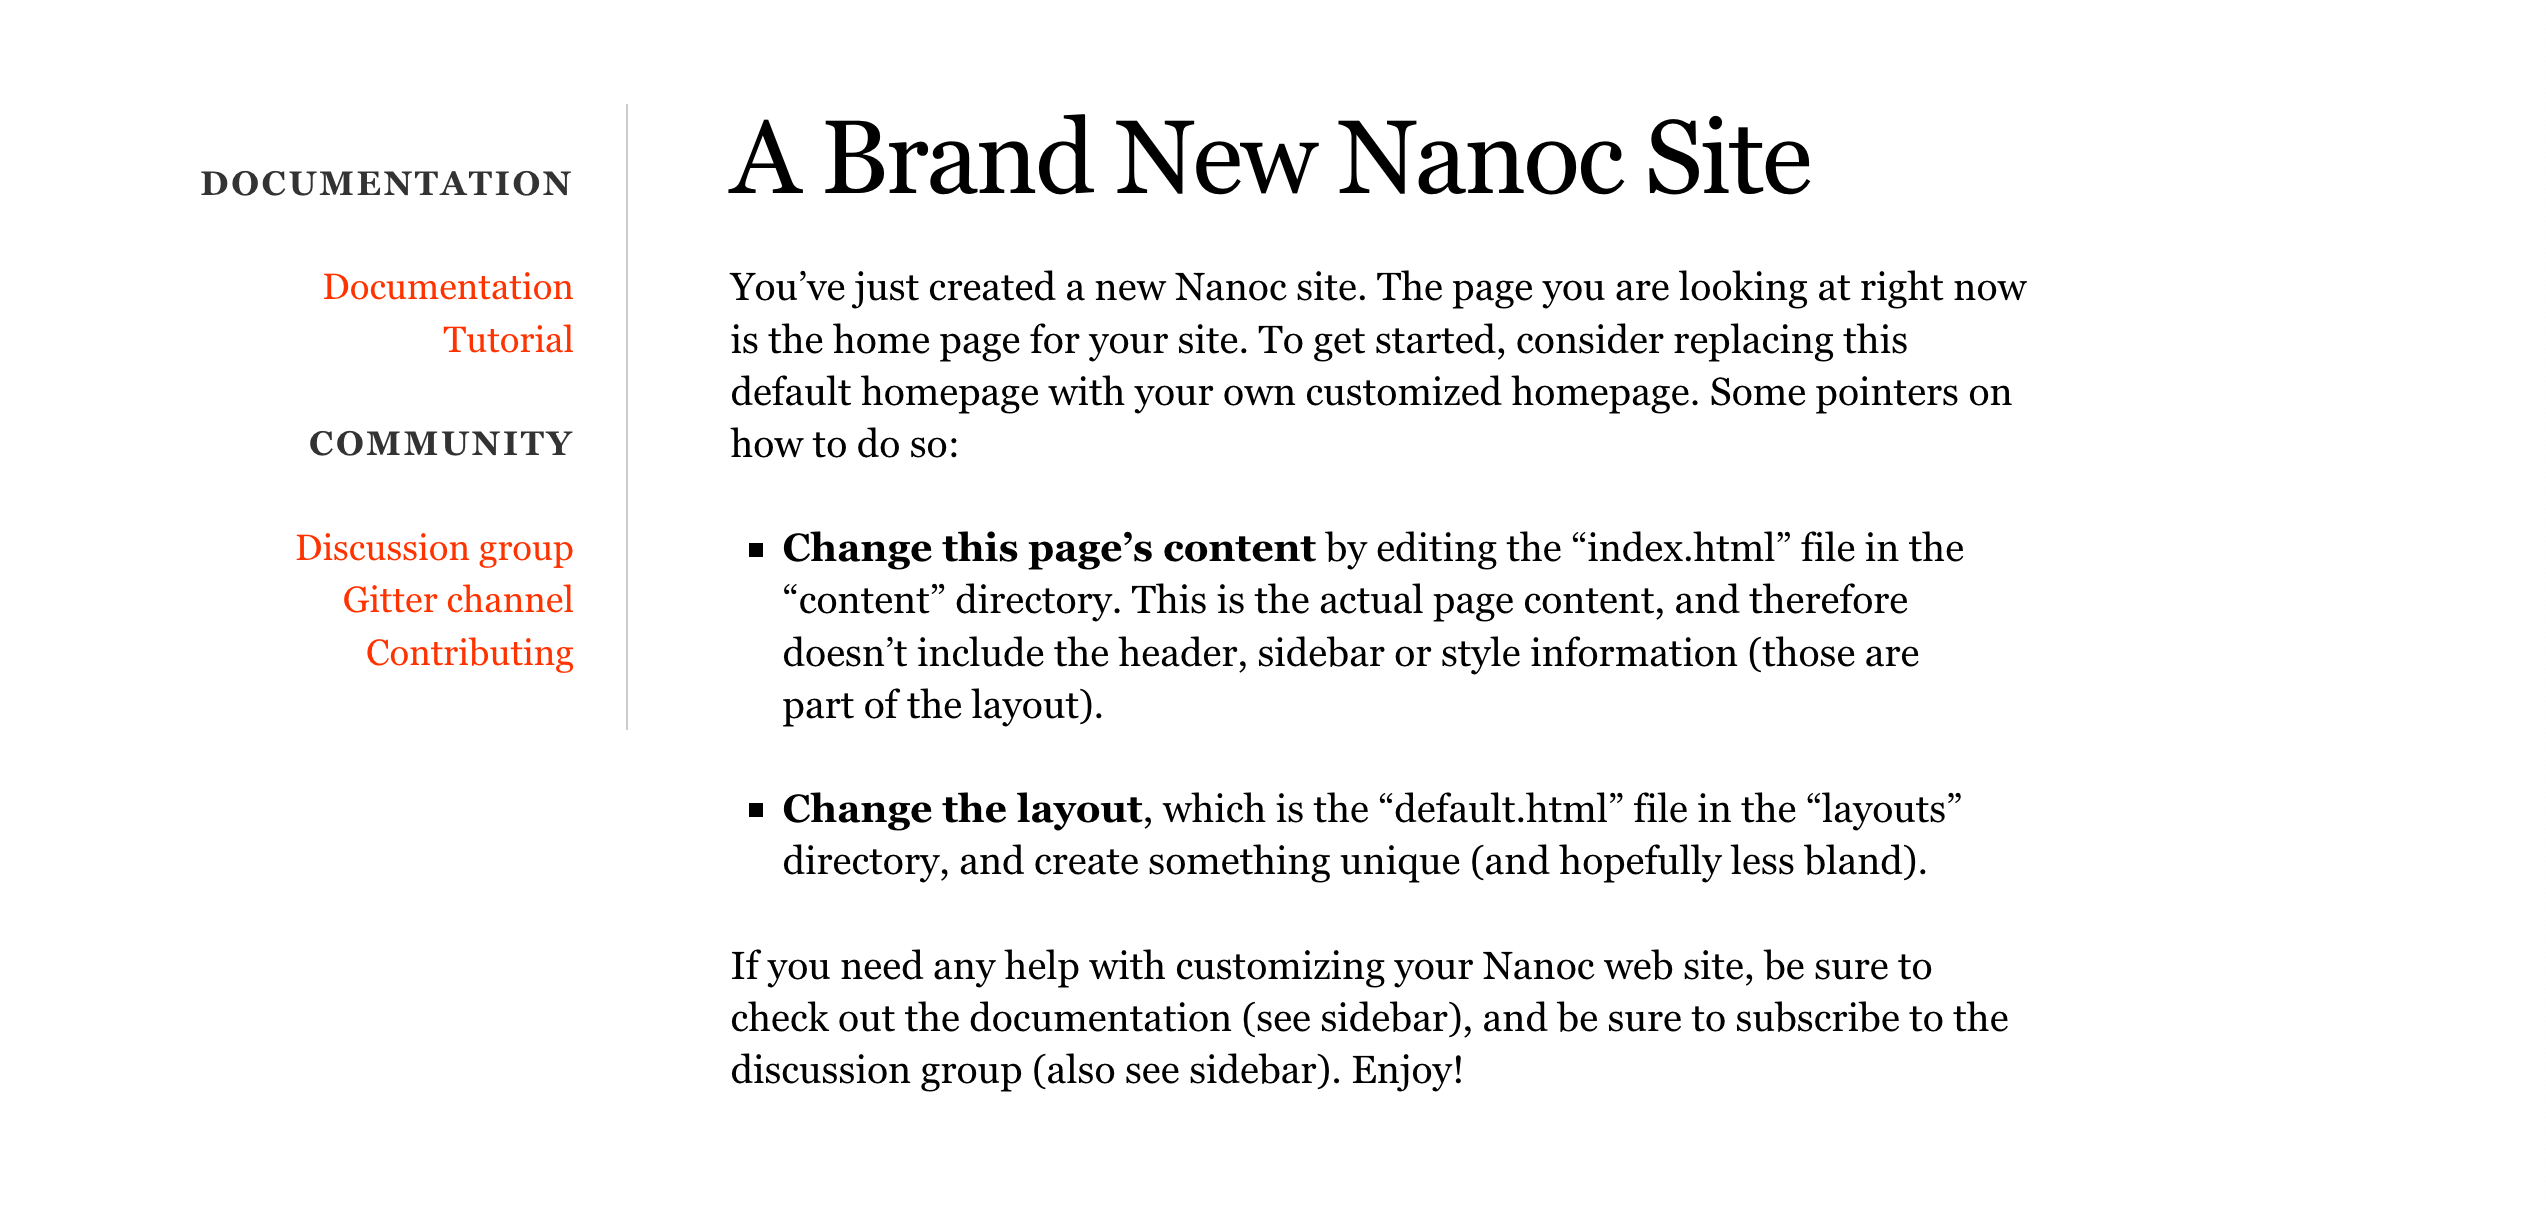
<h1>A Brand New Nanoc Site</h1>
<p>You’ve just created a new Nanoc site. The page you are looking at right now is the home page for your site. To get started, consider replacing this default homepage with your own customized homepage. Some pointers on how to do so:</p>
…Add a paragraph somewhere in the file. I recommend adding the following:
<p>Another Nanoc convert! Master will be pleased.</p>Recompile the site by running nanoc:
tutorial% nanoc
Loading site data…
Compiling site…
      update  [0.01s] output/index.html

Site compiled in 0.01s.
tutorial%
Make sure that the preview server (nanoc view) is still running, and reload http://localhost:3000/ in your browser. You’ll see the page and the newly added paragraph.
Items, such as this home page, can contain metadata. This metadata is defined in the frontmatter of a file. The home page’s frontmatter by default contains only a title:
---
title: Home
---
The frontmatter is formatted as YAML. If you are unfamiliar with YAML, see the YAML cookbook. There are no pre-defined attributes in Nanoc, and you are free to invent your own attributes.
Change the value of the title attribute to something else:
---
title: "Denis’ Guide to Awesomeness"
---
Recompile the site and reload http://localhost:3000/ in your browser. You will see that the browser’s title bar displays the new page title now. The mechanism behind this will be explained in the Customize the layout section.
Add a page
Create a file named content/about.html and paste in the following content:
---
title: "About me and my cats"
---

<h1>My cute little "About" page</h1>

<p>This is the about page for my new Nanoc site.</p>
Recompile the site by issuing nanoc. Notice that Nanoc creates a file output/about/index.html. Open http://localhost:3000/about/ in your browser, and admire your brand new about page. Shiny!
Customize the layout
The look and feel of a site is defined in layouts. Open the site’s default (and only) layout, layouts/default.html, your text editor. It almost looks like an HTML page, except for the frontmatter at the top of the file, and eRuby (Embedded Ruby) instructions such as the <%= yield %> one:
…
<div id="main">
  <%= yield %>
</div>
…
Two main eRuby instructions exist:
<% code %>- Runs the code between
<%and%> <%= code %>- Runs the code between
<%=and%>, and displays the return value on the web page
The <%= yield %> instruction is replaced with the item’s compiled content when compiling.
The file also contains the <%= @item[:title] %> instruction near the top of the file. This is replaced with the contents of the title attribute during compilation.
Because Nanoc attributes are free-form, you can make up your own attributes. Set the author attribute on the about page:
---
title: "About me and my cats"
author: "John Doe"
---
Modify the layout, layouts/default.html, to show the value of the author attribute. Add the following snippet to the layout:
<% if @item[:author] %>
  <p>This page was written by <%= @item[:author] %>.</p>
<% end %>
Recompile the site and open both the home page and the about page. The about page contains a paragraph mentioning John Doe as the author, while the home page does not.
Write pages in Markdown
Nanoc has filters, which transform content from one format into another.
A language that is commonly used instead of HTML is Markdown. Nanoc comes with various Markdown filters, including a filter for kramdown, a fast and featureful Markdown processor.
Get rid of the content in content/about.html (but leave the frontmatter intact), and replace it with Markdown:
---
title: "Denis’ Guide to Awesomeness"
---

Now is the time for all good men to come to the aid of their country. This is just a regular paragraph.

## Shopping list

1. Bread
2. Butter
3. Refined uranium
Rename the content/about.html file to content/about.md. md is a file extension that is commonly used with Markdown.
Before we can use the kramdown gem, it needs to be installed:
% gem install kramdownThe Rules file is used to describe the processing rules for items and layouts. This is the file that needs to be modified to tell Nanoc to use the kramdown filter.
This Rules file comes with a commented-out compilation rule specifically for kramdown:
# This is an example rule that matches Markdown (.md) files, and filters them
# using the :kramdown filter. It is commented out by default, because kramdown
# is not bundled with Nanoc or Ruby.
#
#compile '/**/*.md' do
#  filter :kramdown
#  layout '/default.*'
#  write item.identifier.without_ext + '/index.html'
#end
Uncomment the compile…end block of code by removing the #s:
compile '/**/*.md' do
  filter :kramdown
  layout '/default.*'
  write item.identifier.without_ext + '/index.html'
end
Compilation rules describe how items are processed. This particular rule matches items that have the md extension, and tells Nanoc to do the following to all items that match the /**/*.md pattern:
- apply the
:kramdownfilter - lay them out using the default layout
- write the resulting HTML file as an index.html file in a directory named after the item
To give an example of the write call: the /about.md item is written to the path /about/index.html. By putting every output file in its own directory and giving it the filename index.html, we ensure that all pages have clean URLs that do not have the extension in them; you’ll be able to access the about page by going to /about/ rather than /about.html.
Recompile the site and load the home page in your web browser. You’ll see a paragraph, a header and a list. In output/about/index.html, you will find the converted HTML:
<p>Now is the time for all good men to come to the aid of their country. This is just a regular paragraph.</p>

<h2 id="shopping-list">Shopping list</h2>

<ol>
  <li>Bread</li>
  <li>Butter</li>
  <li>Refined uranium</li>
</ol>
Write some custom code
Nanoc will load Ruby source files in the lib/ directory on startup. Functions defined in there will be available during compilation. Such functions are useful for removing logic from layouts.
To demonstrate this, open content/about.html and add tags to the frontmatter:
tags:
  - foo
  - bar
  - baz
Next, create a lib/tags.rb file and put in the following function:
def tags
  if @item[:tags].nil?
    '(none)'
  else
    @item[:tags].join(', ')
  end
end
Modify the layout, layouts/default.html, and add a paragraph that outputs the tags:
<p>Tags: <%= tags %></p>Recompile the site and open both the home page and the about page in your web browser. You’ll see a list of tags on both pages.
Use a predefined helper
Nanoc is bundled with a handful of helpers, including a tagging helper (see the tagging helper documentation for details). To use this tagging helper, replace the contents of lib/tags.rb with this:
use_helper Nanoc::Helpers::TaggingThis will make all functions defined in the Nanoc::Helpers::Tagging module available for use.
Modify the layout, layouts/default.html, and replace the paragraph that displays the tags with a call to #tags_for, which is defined in the tagging helper:
<p>Tags: <%= tags_for(@item) %></p>Recompile the site. The tags in the compiled HTML files in the output/ directory are now generated using the helper.
Next steps
You’ve reached the end of the tutorial. If you want to read more, take a look at the other chapters in the documentation. If you’re stuck with a Nanoc problem, get help on GitHub discussions or the Google group.
We’d love to hear your feedback about the Nanoc documentation. Is something wrong? Is something unclear? Tell us by opening an issue on GitHub. Thanks!